Glympse allows the ability to create password-protected Glympse Public Tags. The password-protected tag ensures that only users who know the designated password will be able to share their location on your map.
Properties of a Password Protected Tag:
- A password-protected tag is a tag that requires a password in order to share that tag.
- The password-protected tag is still viewable by anybody, but only those who know the password can share their location with the tag.
You can assign a password to a tag by simply appending a password enclosed by curly brackets “{ }” at the end of the tag name. For example, if you want to create the password-protected tag “FamilyRoadTrip” with the password “SEATTLE”, you would enter FamilyRoadTrip{SEATTLE} in the field where you specify the tag name. Anyone who attempted to join the tag FamilyRoadTrip would need to include the password in brackets in order to show up on the map.
There are a couple of things to know about using this feature:
- The password is only enabled if you are the first person in the tag when adding the password portion to the tag name.
- Currently the password cannot be changed once it’s set, so be sure to keep track of the password to avoid headaches later.
To Create a Glympse Public Tag:
1. Open the Glympse app
2. Click on the “G” at the bottom.
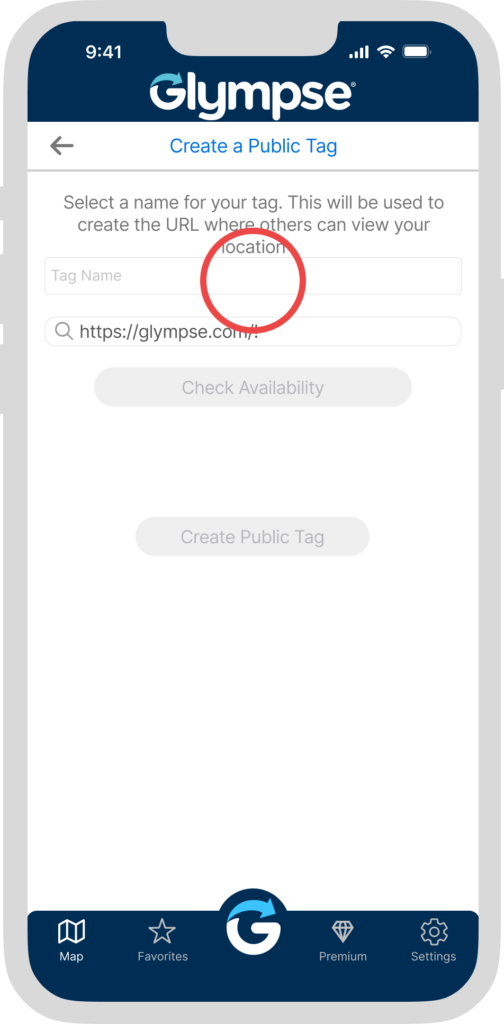
3. Click on “Create a Public Tag”
4. Type in the name of the tag you want to use and see if it is available by following the prompts.
5. If it is available, hit “Create Public Tag”