To speed up the order upload process, Glympse PRO has a bulk upload solution. Users can upload multiple orders at once via CSV. We recommend watching the video to visually see how bulk ordering works.
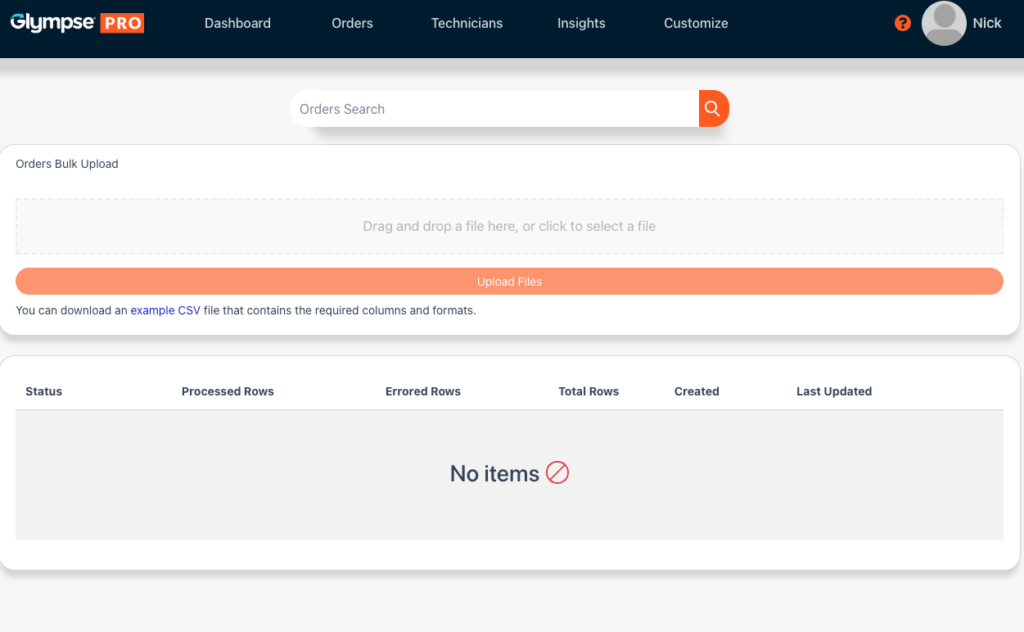
When you are ready to upload your bulk orders, navigate to the “Orders” tab. Click on “Bulk Upload Orders” at the top right of the “Orders” box. Then download the “Example CSV” below the upload box to get the Glympse PRO upload template. Be sure to follow the format as it is presented to prevent errors in the uploading process. This includes the formatting the “appt_from” and “appt_to” (if applicable) as the following: month/day/year 00:00 am/pm time zone. For example: “04/23/2022 05:40 pm EST”.
To view what time zones we currently support, visit our FAQ “Can I create an order in another time zone?
The “appt_to” field is not required, however, if a value is entered, the order will use an arrival window. If no value is entered, the order will use the “appt_from” value as the promise time.
When working on the file, double check there are no duplicate orders. Duplicate orders that are unfixed will create the job twice when uploaded. When saving the file, please save it as a comma separated values (.csv) file. This will prevent any issues when uploading the file to Glympse PRO.
Once you have properly formatted your file, drop and drag your file to the upload box or click on the box and select the file. Next, click on “Upload Files” to start the uploading process.
When the file has been uploaded, your file will receive a unique upload ID, Status, Creation date, and Last Uploaded date. Make sure to watch the “status” of the file uploaded.
- If there are no problems with the file, the status will be marked as “Done” and denoted with a green box. All orders in the file will then be located in the “Orders” tab of Glympse PRO where you can edit them again if necessary or change the assigned technician.
- If there is a problem with the upload, the status for the specific row will be marked as “skipped” and denoted with a
 box. Open the upload ID to view which of the entries contained errors. When an error occurs, all other orders in the upload that were not denoted as an error will be uploaded to Glympse PRO. Fix all the other orders with errors and re-upload the file.
As mentioned previously, all of your new uploaded orders that are error-free will appear immediately in the “Orders” tab. It is important to note that once these orders are uploaded, the customer will be notified of the scheduled job immediately via text or email with the phone number and email listed in the system.